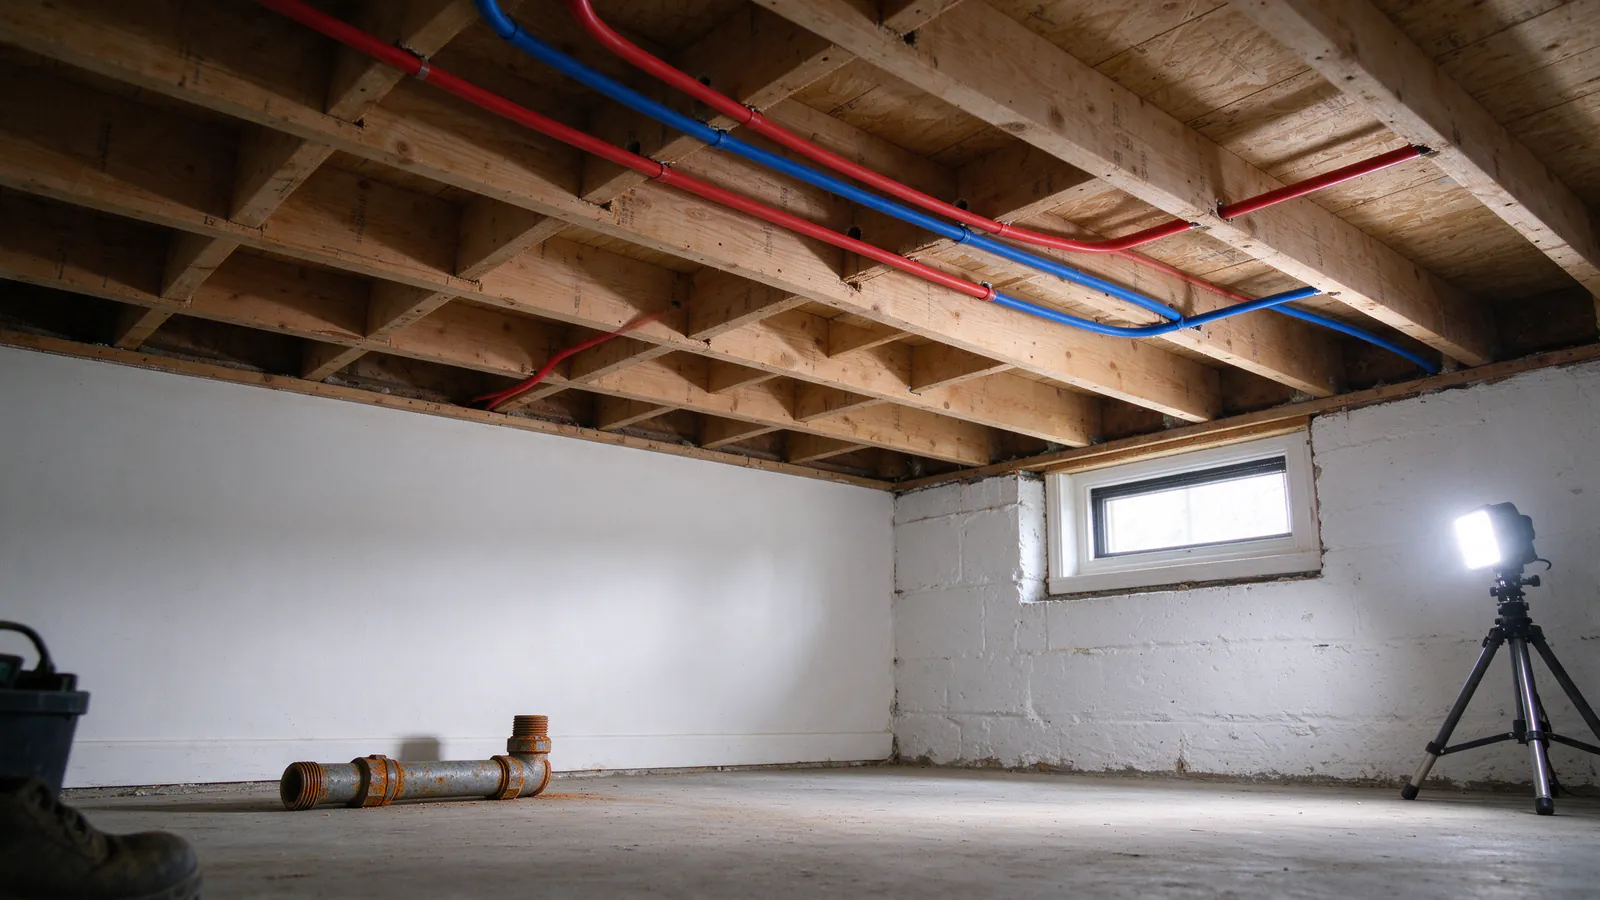
This whole-house repipe walkthrough follows a typical job from the first phone call to the last pressure test. It is an illustrative composite of how the work usually runs in an older Indianapolis house, not the story of a particular home, customer or project.
Circle City Repipe offers and manages whole-house repiping across Indianapolis and nearby communities, carried out by licensed and insured contractors. The stages below are the ones the whole-house repiping page lists; this post shows how they fit together in order.
The house in this example
Picture a two-story house built before the Second World War, of the kind found in older Indianapolis neighborhoods. Its original supply pipe is threaded galvanized steel. Over the years someone replaced a few sections with copper after leaks, and a remodeled bathroom upstairs has some PEX. The owner has noticed rusty water after the house sits, a weak shower upstairs and one leak at a threaded joint in the basement ceiling.
Nothing about that mix is unusual, and none of it proves on its own that the whole system needs replacing. That is what the first visit is for.
The first visit
The visit starts at the water meter and the main shutoff, because everything downstream depends on what comes in. The pipe material is identified along the way, which in this house means three materials in one basement. Static pressure is measured, and flow is checked at fixtures upstairs and down, on both hot and cold. If the pressure is good at the main but the upstairs shower barely runs, the restriction is in the house’s own pipe. If the pressure is low at the main too, a repipe alone will not fix it, and the low water pressure page explains where else to look.
The main shutoff gets a close look as well. An old gate valve that will not close fully is common in a house this age and goes on the list. The guide to identifying pipe material covers how each material looks if you want to check your own basement first.
The written scope and price
Before anything is opened, the owner gets a written scope: which lines are replaced, in what material, which route each takes, where each wall or ceiling opening will be, what the permit covers and the price. In this example the choice is PEX with a combination of basement runs and short vertical drops, because the basement ceiling is unfinished and most second-floor fixtures sit over first-floor walls.
A typical Indianapolis-area range for a whole-house repipe is $4,000 to $15,000+, and the repiping cost guide explains what moves a house within it. The scope also lists every opening and who closes it, so the patching is not a surprise at the end.
Want a written scope like this for your house?
It starts at the meter, with pressure and flow checked before anyone talks about price.
The permit
Inside Indianapolis, a repipe this size needs a plumbing permit from the City’s Department of Business and Neighborhood Services, issued through a state-licensed plumbing contractor registered with the City. A whole-house repipe is far past the in-kind exemption, which covers replacing no more than 20 percent of the piping. The Indianapolis repiping permit guide covers fees and inspections, and the excluded cities of Lawrence and Beech Grove issue their own permits.
Running the new lines in stages
The new lines go in a section at a time while the old system stays in service. Mains are run along the basement ceiling first, then branches up to each fixture group. The water is switched over to the new pipe in stages, so the house keeps water for most of each day and is off only while a connection is made. The how long does repiping take guide covers what sets the overall schedule.
Openings are made where the scope said they would be. In a plaster house that means careful cuts, and the how invasive is repiping guide explains what that looks like room by room.
Inspection before the walls close
Once the new pipe is in, and before any wall or ceiling is closed, the rough-in is inspected. Indianapolis rules require that inspection before the work is covered, which is why patching always comes after it. A failed item is corrected and inspected again; the City charges a reinspection fee for a return visit.
Pressure test, flush and reconnection
The new system is pressure tested to show it holds, then flushed to clear debris from the installation. Fixtures and the water heater are reconnected to the new lines. The seized gate valve at the main, in this example, is replaced with a new main shutoff. Old pipe that can be reached in the basement is removed; pipe sealed inside finished walls is cut and capped.
Patching and the hand-off
Openings are patched as the scope agreed, and the owner gets the list of every opening and who closes it, along with a record of where the new lines run and where the shutoffs are. In the first days, aerators may need clearing once or twice as loosened scale works out. Where the old galvanized pipe was the restriction, the upstairs shower should run noticeably stronger; where the limit is the service line, it will not change, and that line is a separate job covered on the water line replacement page.
If your house sounds like this one, the repiping assessment sorts your situation into a next step in a few questions.